
Keep pale edges visible
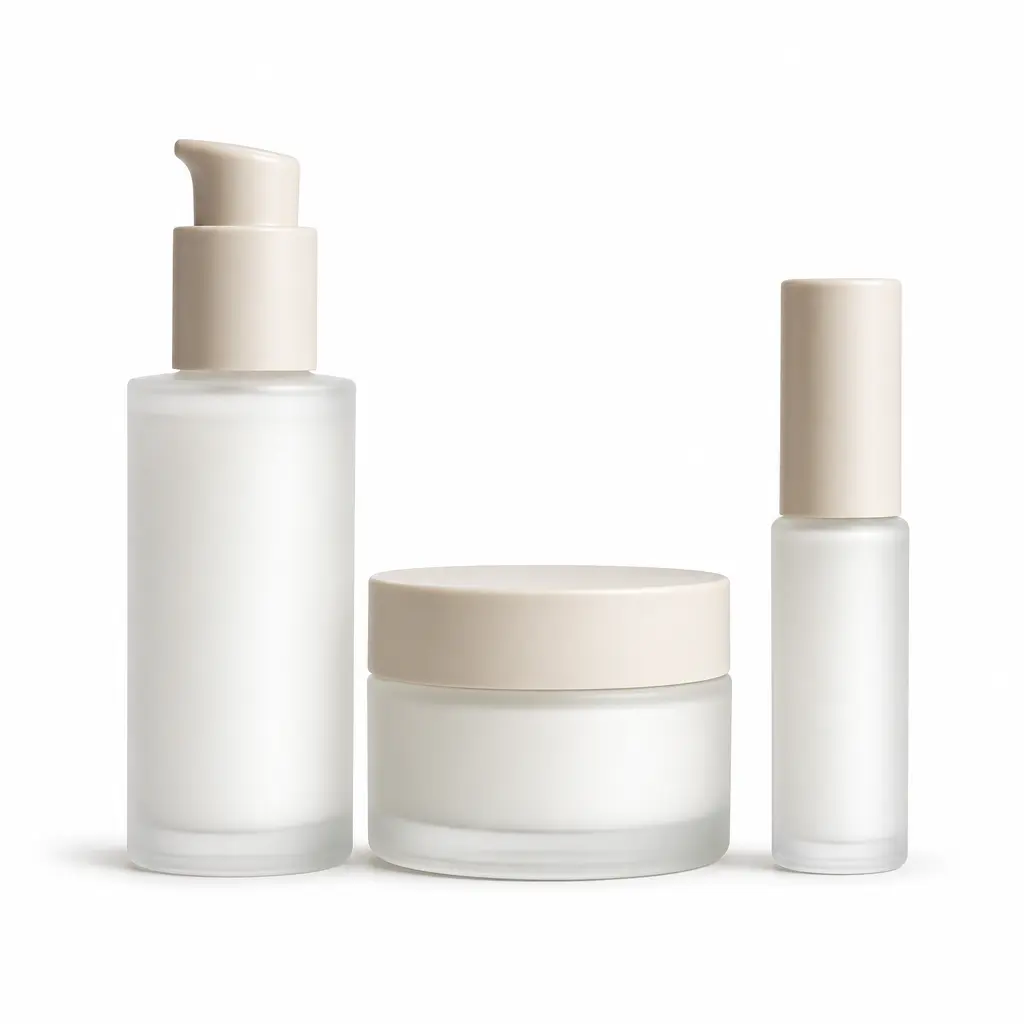
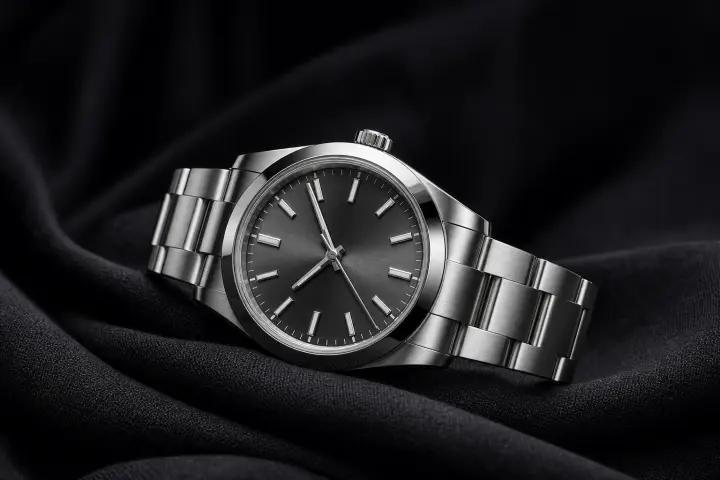
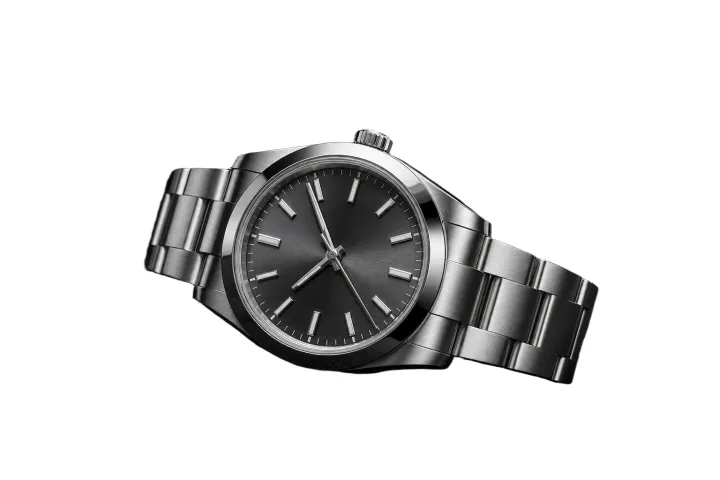
Review light products, clothing, or highlights against the new white field.
Use this white-image comparison to check pale boundaries, shadow, and intentional spacing.
Turn an existing photo into a white background image and inspect pale edges, fine detail, shadows, and cropping.
Upload PNG, JPG, JPEG, or WebP up to 10 MB.
Turn an existing photo into a white background image and inspect pale edges, fine detail, shadows, and cropping.
Upload PNG, JPG, JPEG, or WebP up to 10 MB.
White-result inspection
White can hide pale details, so compare the full subject, its edge, and the remaining shadow.
Review light products, clothing, or highlights against the new white field.
Use this white-image comparison to check pale boundaries, shadow, and intentional spacing.


Confirm the subject still feels grounded and has intentional room around it.
Use this white-image comparison to check pale boundaries, shadow, and intentional spacing.
Review the transformation as a sequence, not only as a final thumbnail.

Use the clearest available image with the full subject visible.

Check edges and interior gaps after the original background is removed.
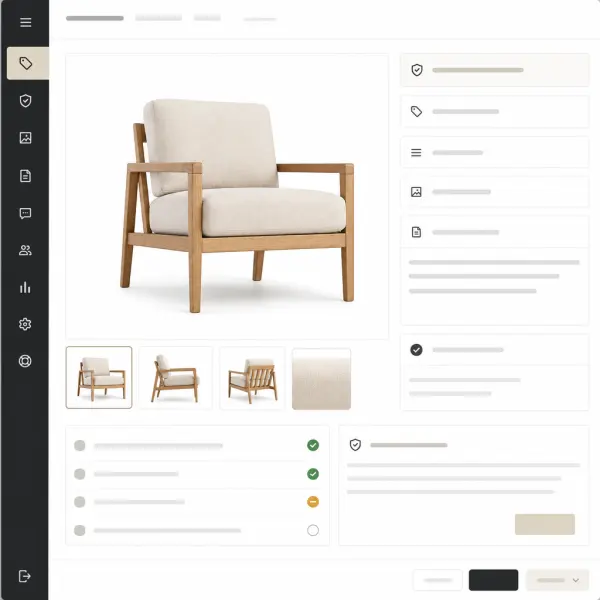
Look again for pale details, shadows, and intentional spacing.
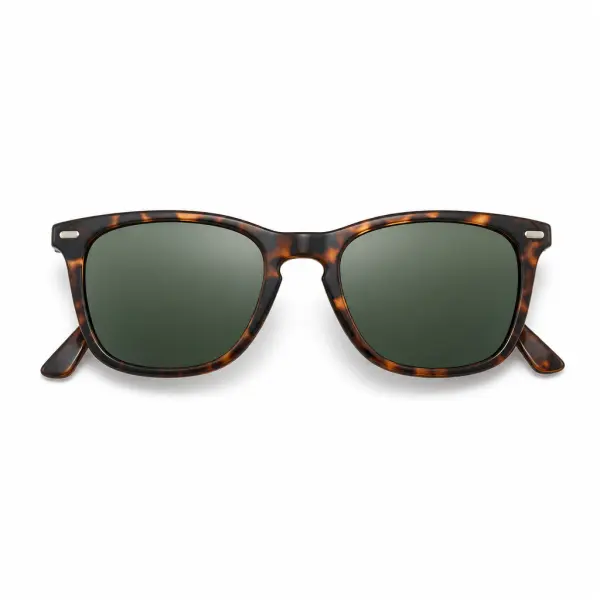
Check that the final frame keeps the complete subject and enough white space for its destination.
Light backgrounds require a closer look at light-colored subjects.

Check that the complete outline remains visible.

Inspect fine strands at the boundary.
Decide whether they help the subject feel grounded.
Inspect subtle materials that may fade into white even when the outer edge looks clean.
Confirm supported inputs, pale-edge visibility, shadow treatment, crop, and the intended destination.
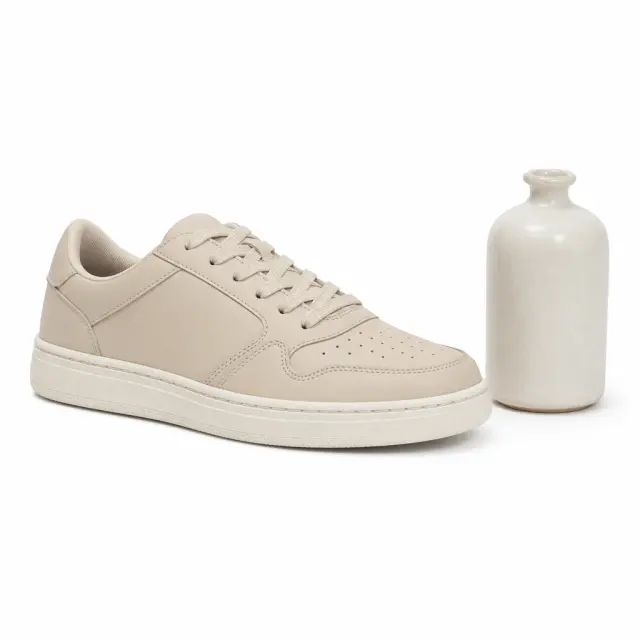
Begin with a clear, uncropped image.
Current scope
Source
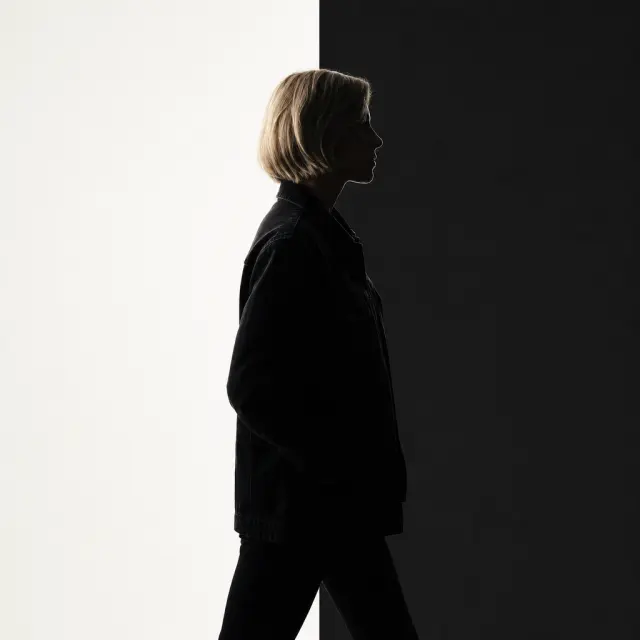
Inspect details before applying white.
Current scope
Cutout
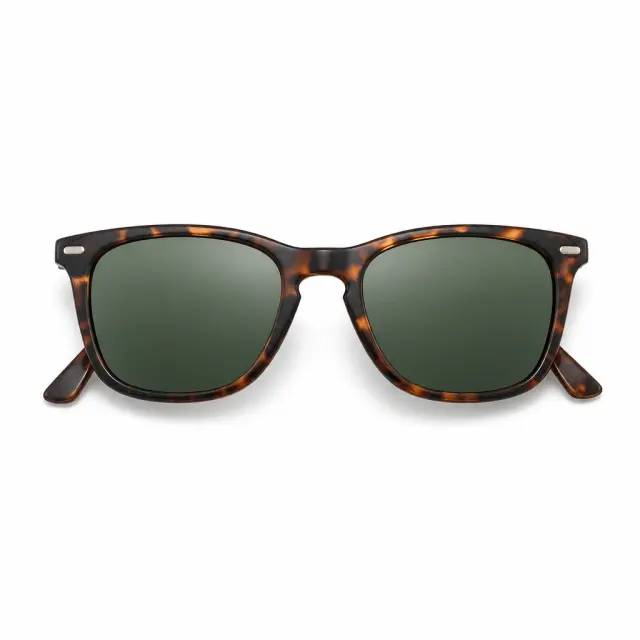
Review the final asset at its intended size.
Current scope
White result
Before you open the workspace, these checkpoints explain where the online tool fits, what file and quality limits to expect, and how uploads are handled.
Uploaded photos and videos are processed for the requested background edit, then removed from active processing storage after the result is generated.
Current scope
Temporary processing
Use JPG, PNG, WebP, MP4, or MOV files depending on the workflow. Very low-resolution sources, heavy blur, or extreme motion can limit final edge quality.
Current scope
Format-aware exports
The AI workspace is best for fast, repeatable background edits; manual Photoshop-style masking still helps when a file needs pixel-level art direction.
Current scope
Faster than manual masking
Product photos, portraits, passport-style images, and short clips work best when the subject is clear, well lit, and not heavily obstructed.
Current scope
Use-case fit check
Start free, choose a recurring plan for steady production, or buy credits when you only need a few clean white-background exports.
Answers address source backgrounds, pale edges, transparency, shadows, file inputs, and product listings.
Evaluate the cutout and white result as separate stages rather than accepting a thumbnail.
Choose a PNG, JPG, JPEG, or WebP file up to 10 MB.
Remove the original scene and preview the isolated subject on white.
Review pale edges, shadows, gaps, and cropping before using it.
Open the white-image workflow and inspect edges, shadow, crop, and spacing before use.