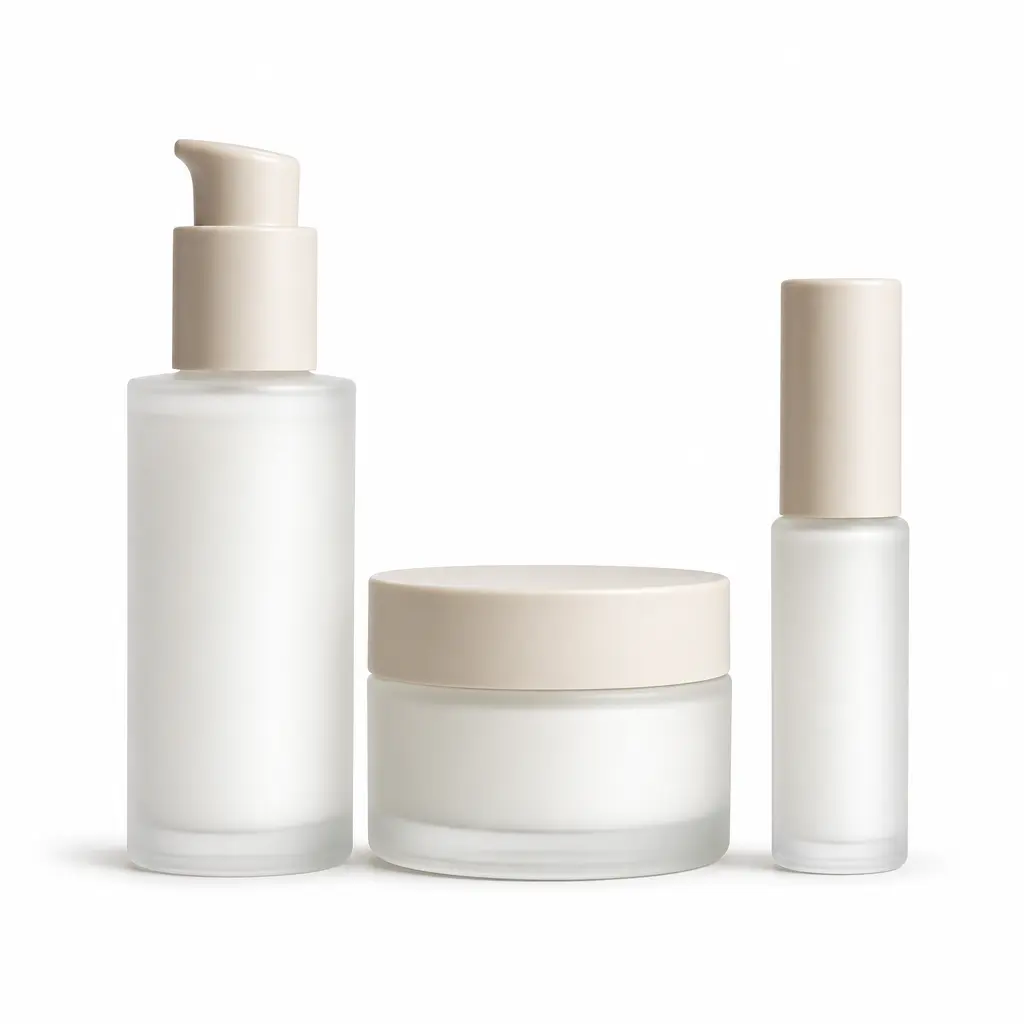
How to Make a Photo Background White
Follow a practical method for isolating the subject, placing it on white, and checking the details that a one-click preview can hide.
Start with a PNG, JPG, JPEG, or WebP image up to 10 MB, then choose the workflow that fits the subject and its destination.


Choose how to make the photo background white
The right method depends on the edge complexity, the source lighting, and whether you need a finished white image or a reusable cutout.

Use an automatic browser workflow
Start here when the subject is clearly separated from its surroundings and you want to review a white result before doing detailed manual work.

Use a mask and white layer for local corrections
A layer-based editor is useful when one edge, reflection, or interior opening needs selective adjustment after the first cutout.
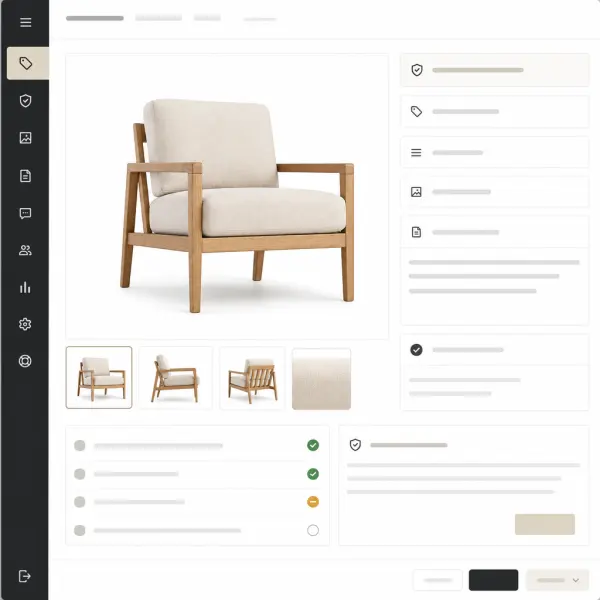
Reshoot when the source hides important detail
Reflective packaging, heavy blur, or poor separation may improve more from softer lighting and a cleaner source capture than repeated edge corrections.
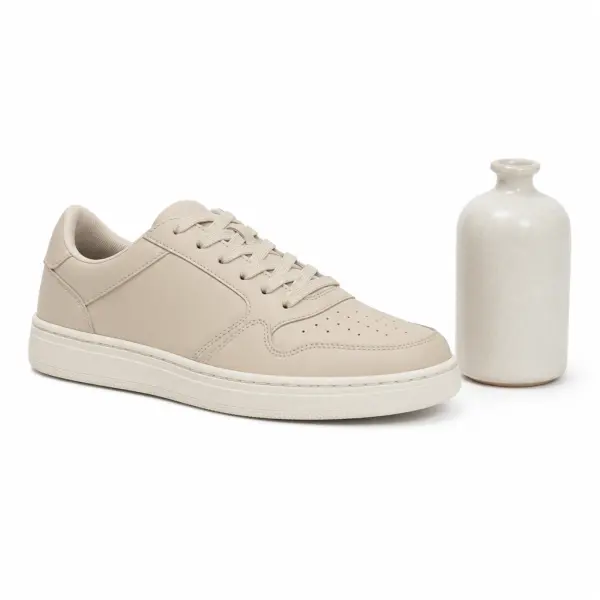
Keep transparency when the design is not finished
Choose a transparent intermediate when the subject will move between layouts; add white only in the final composition that requires it.
Make the background white in four practical steps
Treat subject isolation and the white canvas as separate decisions so you can diagnose problems instead of repeatedly replacing the background.

Check the source photo before editing
Look for usable resolution, strong subject separation, soft motion, interior gaps, reflections, and shadows that should remain visible.

Isolate the subject from the original scene
Remove the surrounding area while checking openings between handles, fingers, hair, straps, and other parts that background removal can misread.
Place white behind the clean cutout
Add the white field after the outline is credible, then decide whether a restrained original or recreated contact shadow helps the subject stay grounded.

Inspect the image at its intended viewing size
Review pale boundaries, crop, spacing, color spill, and small gaps both close up and at the size where the image will actually appear.
Fix the details that make white-background photos look wrong
These four checks target common failures that are easier to see after the original scene has been replaced by a bright, uniform field.
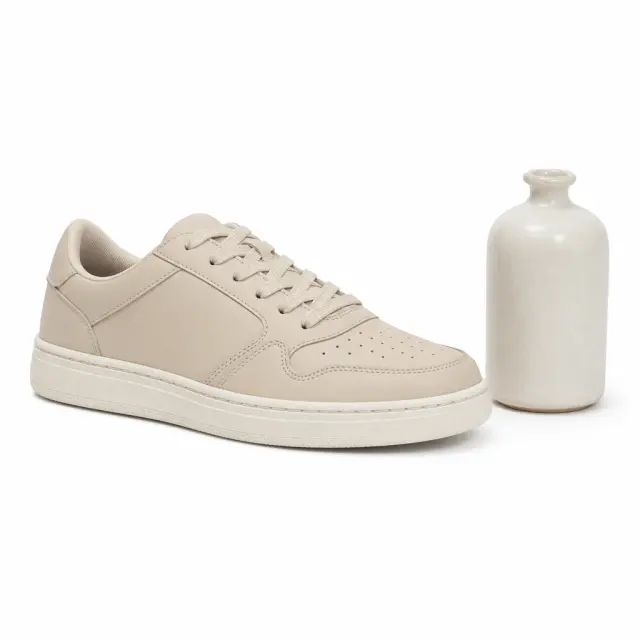
Separate light products without drawing a dark outline
Preserve natural edge contrast and use a modest contact shadow when white clothing, packaging, or product surfaces begin to disappear.
Current scope
Pale-on-white

Inspect hair, fur, fabric, and soft boundaries
Compare the outline at more than one zoom level so a clean thumbnail does not hide clipped strands or a bright fringe.
Current scope
Fine detail
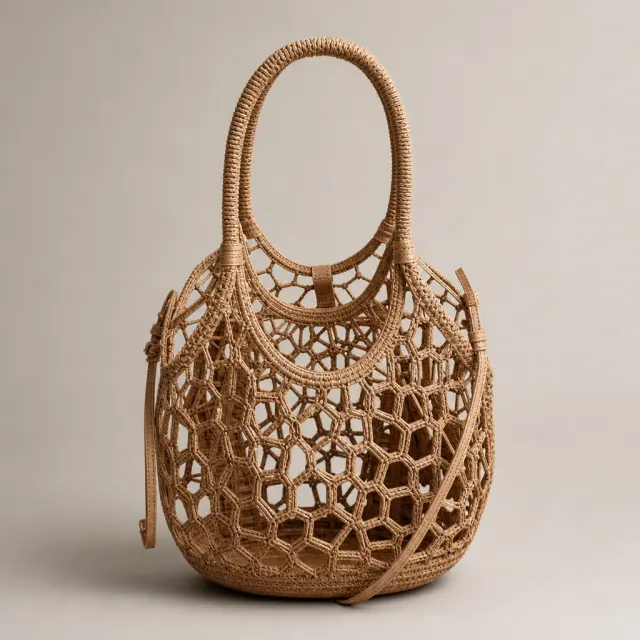
Protect glass, handles, straps, and open spaces
Check regions inside the subject as carefully as the outer edge because reflections and openings may contain parts of the original background.
Current scope
Interior gaps

Judge crop and spacing after the cutout is complete
Background cleanup does not correct an awkward composition, so evaluate margins, scale, and alignment as a separate finishing step.
Current scope
Final framing
Quality, Privacy, and Workflow Checks
Before you open the workspace, these checkpoints explain where the online tool fits, what file and quality limits to expect, and how uploads are handled.
Upload privacy and file deletion
Uploaded photos and videos are processed for the requested background edit, then removed from active processing storage after the result is generated.
Current scope
Temporary processing
File formats and quality limits
Use JPG, PNG, WebP, MP4, or MOV files depending on the workflow. Very low-resolution sources, heavy blur, or extreme motion can limit final edge quality.
Current scope
Format-aware exports
Online tool vs manual workflow
The AI workspace is best for fast, repeatable background edits; manual Photoshop-style masking still helps when a file needs pixel-level art direction.
Current scope
Faster than manual masking
When the result is ready to use
Product photos, portraits, passport-style images, and short clips work best when the subject is clear, well lit, and not heavily obstructed.
Current scope
Use-case fit check
Continue with the white-background workflow that matches the photo
Use a dedicated destination when the image has a product, document-style, color, or reusable-cutout requirement beyond this general method.
Create a finished white background image
Move to the focused image maker when the final deliverable is a still photo on white.
Open the white image workflowPrepare a product photo for a listing
Use the product-specific page for label legibility, consistent crop, spacing, and contact-shadow checks.
Review the product photo workflow
Review a passport-style portrait carefully
Use the portrait-specific guidance for head outline, clothing, shadow, crop, and current authority requirements.
Read the passport-style photo checks
Choose another solid background color
Switch to the color workflow when white reduces contrast or the destination calls for a different neutral field.
Compare solid background colorsPricing That Fits Every White-Background Workflow
Start free, choose a recurring plan for steady production, or buy credits when you only need a few clean white-background exports.
Questions about making a photo background white
These answers clarify method choice, pale subjects, transparency, mobile use, supported files, and document-photo limits.
Apply the white-background method to your own photo
Begin with the automatic result, then use the source, edge, shadow, and framing checks from this guide before choosing where the image belongs.