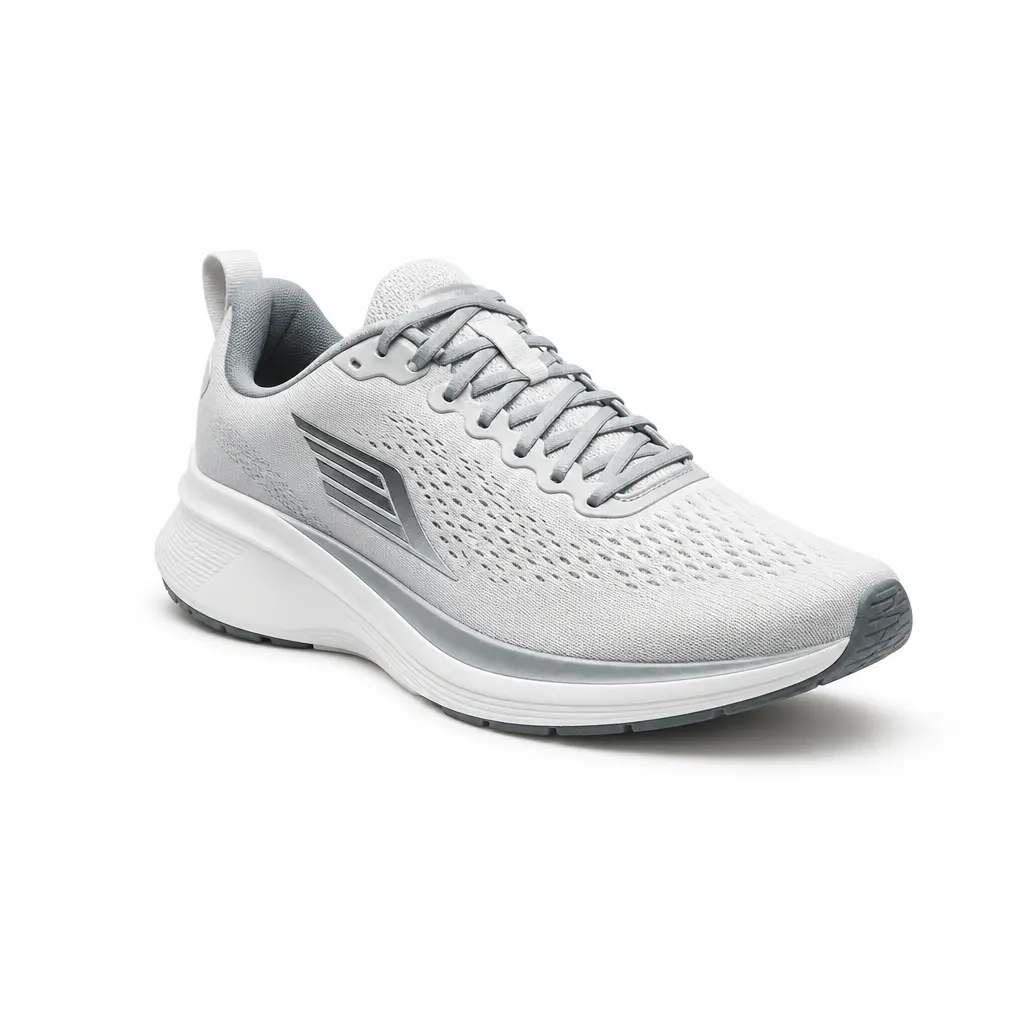
How to Remove a White Background from an Image
Remove a visible white box while protecting pale subject details, inner gaps, and soft edges.
Use a PNG, JPG, JPEG, or WebP image up to 10 MB, then inspect the complete cutout.


Before you remove a white background
A quick source check helps you know where to inspect the result.

Look for white subject details
Pale clothing, packaging, or highlights can blend into the source background.

Notice shadows and reflections
Decide whether they belong to the subject or the original scene.

Find closed and narrow spaces
Check handles, letters, spokes, and other interior openings.

Test a contrasting preview
Place the cutout over a dark color to reveal white fringe that disappears on a checkerboard.
Remove a white field without overlooking pale detail
Use a contrasting preview after processing to find halos, lost edges, and unopened gaps.

Select the white-source image
Choose a supported still image with the white background you want to remove.

Remove the white background
Process the image so the subject is isolated from the white field.
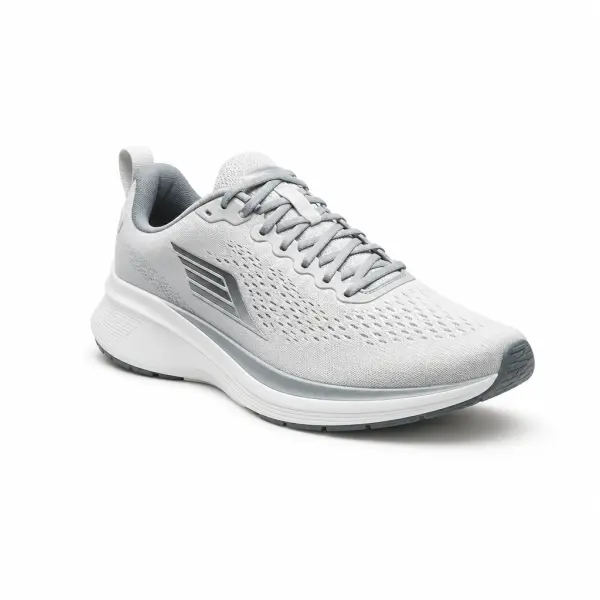
Inspect and choose the next background
Review light edges and gaps, then keep transparency or select another background.
White-source details that need close review
Pale contrast, enclosed shapes, and the next background choice determine whether the cutout is usable.

White on white
Pale details deserve a closer review.
Current scope
Contrast

Open shapes
Inspect enclosed and narrow gaps.
Current scope
Interior detail

Transparent or replaced
Choose a background that matches the final use.
Current scope
Next step
Quality, Privacy, and Workflow Checks
Before you open the workspace, these checkpoints explain where the online tool fits, what file and quality limits to expect, and how uploads are handled.
Upload privacy and file deletion
Uploaded photos and videos are processed for the requested background edit, then removed from active processing storage after the result is generated.
Current scope
Temporary processing
File formats and quality limits
Use JPG, PNG, WebP, MP4, or MOV files depending on the workflow. Very low-resolution sources, heavy blur, or extreme motion can limit final edge quality.
Current scope
Format-aware exports
Online tool vs manual workflow
The AI workspace is best for fast, repeatable background edits; manual Photoshop-style masking still helps when a file needs pixel-level art direction.
Current scope
Faster than manual masking
When the result is ready to use
Product photos, portraits, passport-style images, and short clips work best when the subject is clear, well lit, and not heavily obstructed.
Current scope
Use-case fit check
Check the areas automatic cutouts can miss
Review the result at normal size and close up before using it.

Pale edges
Inspect light-colored boundaries for missing detail or a visible fringe.

Interior gaps
Confirm that enclosed background areas were removed consistently.

Soft shadows
Keep or replace a shadow based on how the result will be placed.

Small text and thin marks
Inspect lettering and narrow graphic strokes that can lose shape against a white source.
Pricing That Fits Every White-Background Workflow
Start free, choose a recurring plan for steady production, or buy credits when you only need a few clean white-background exports.
Questions about removing white from an image
Review white-on-white subjects, JPG transparency limits, outlines, logos, and replacement choices.
How to Remove a White Background from an Image
Process the white source, then inspect light boundaries over a contrasting preview.